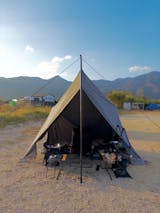
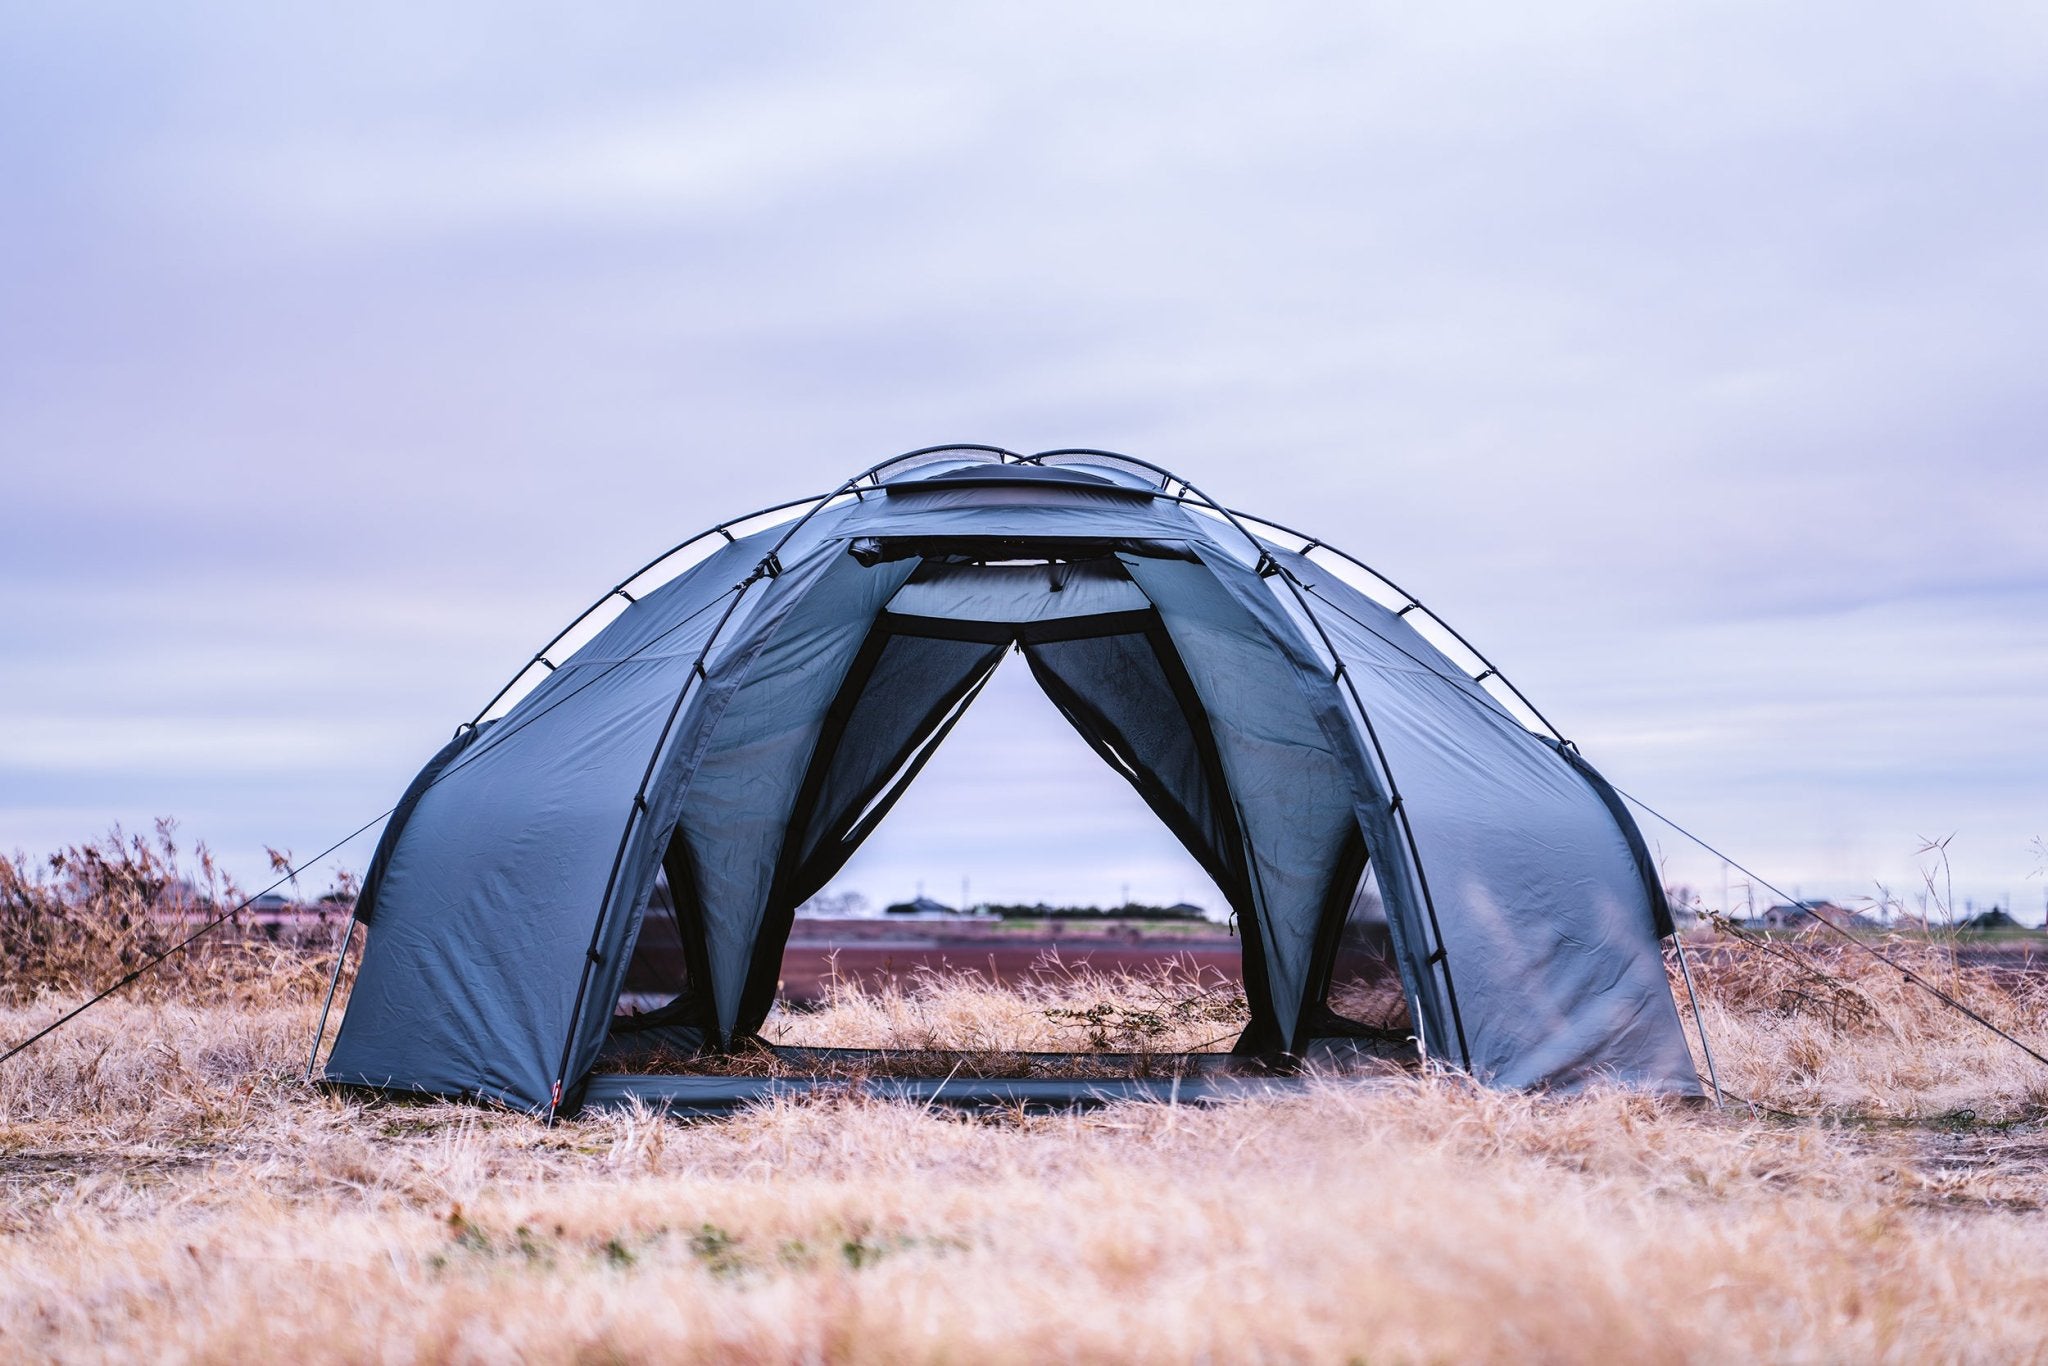
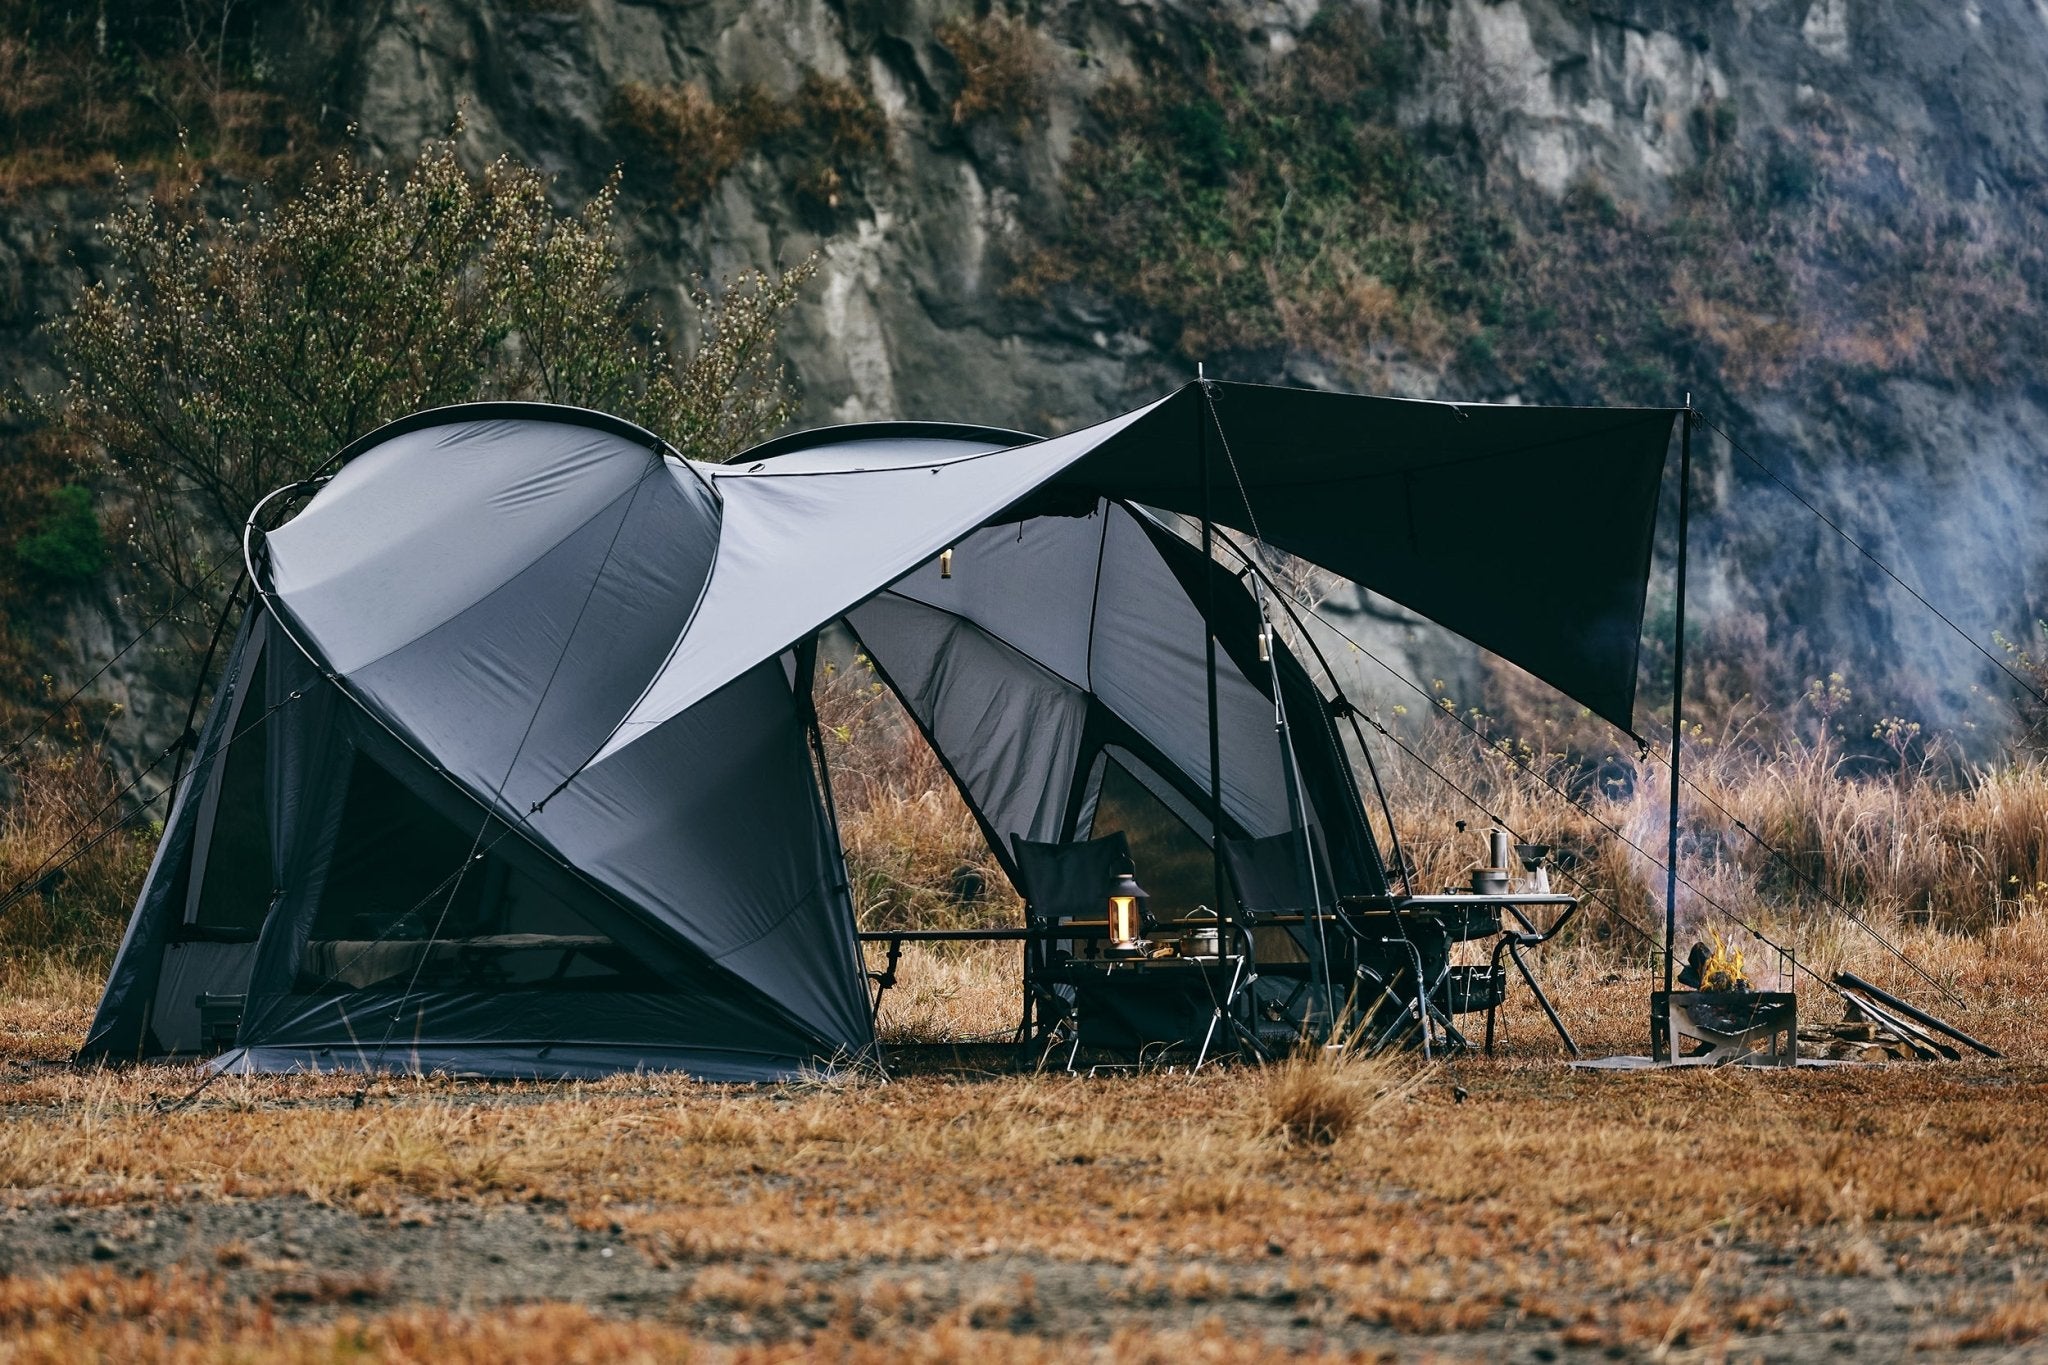
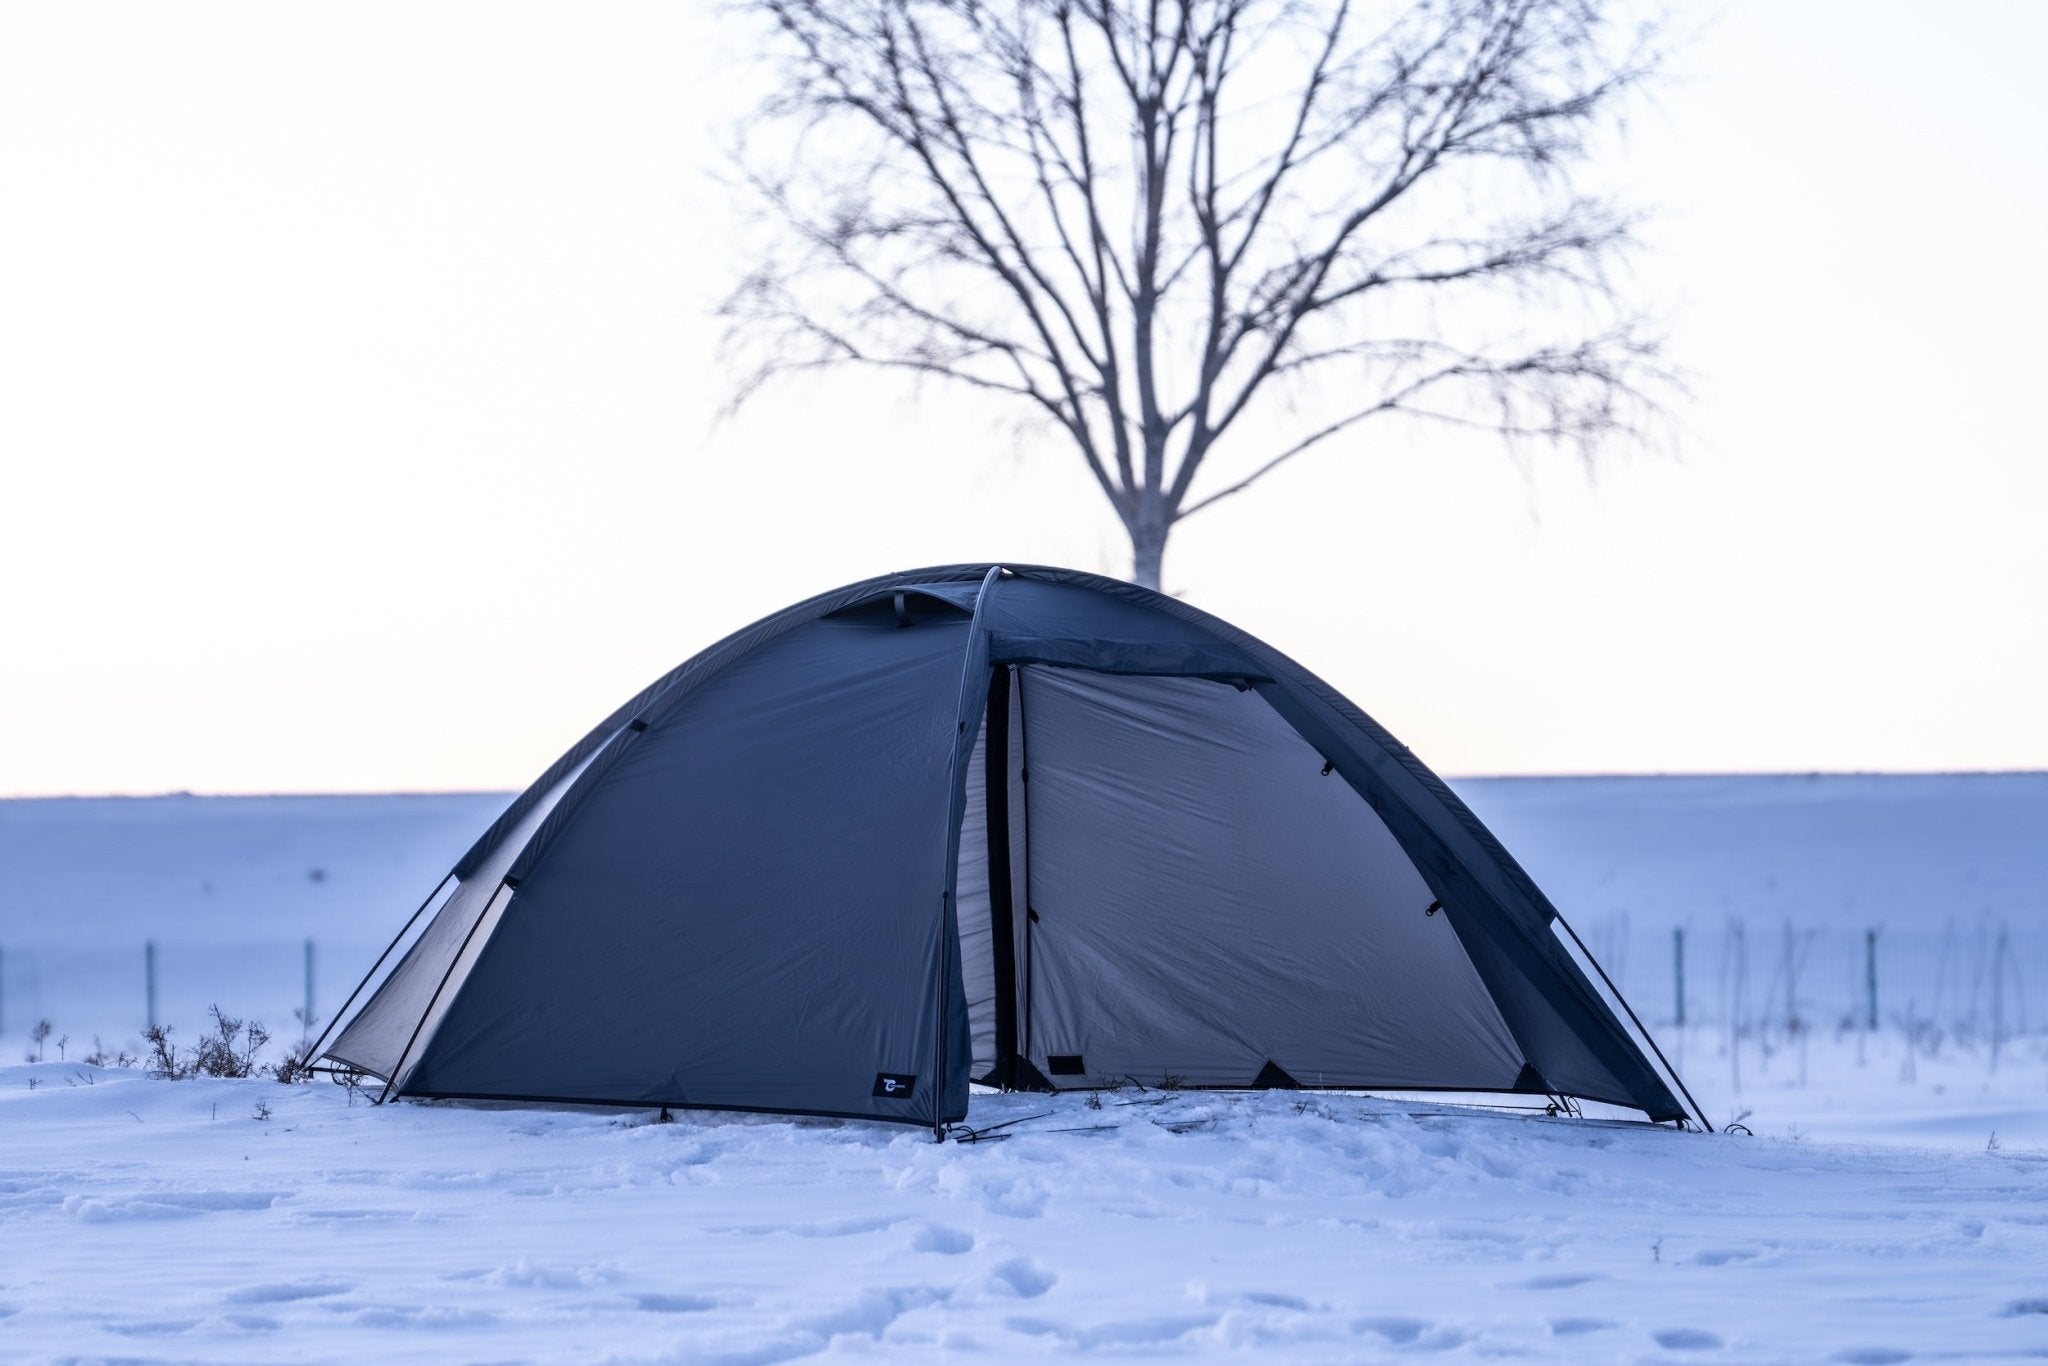
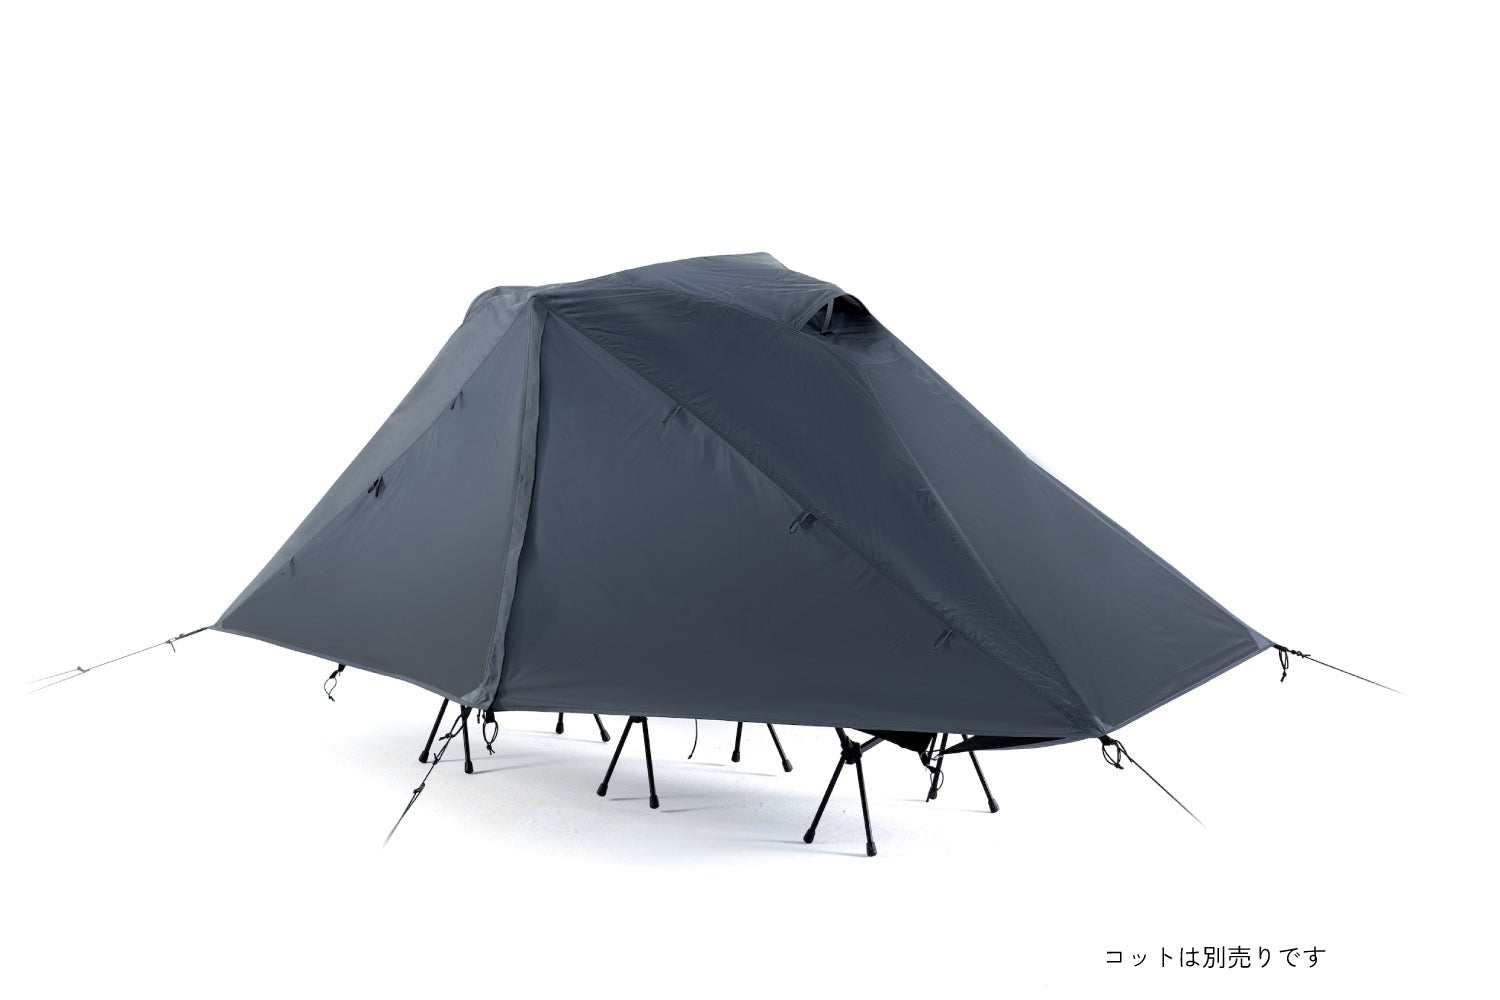
Minimalist, spacious, and comfortable — the all-in-one TC tent.
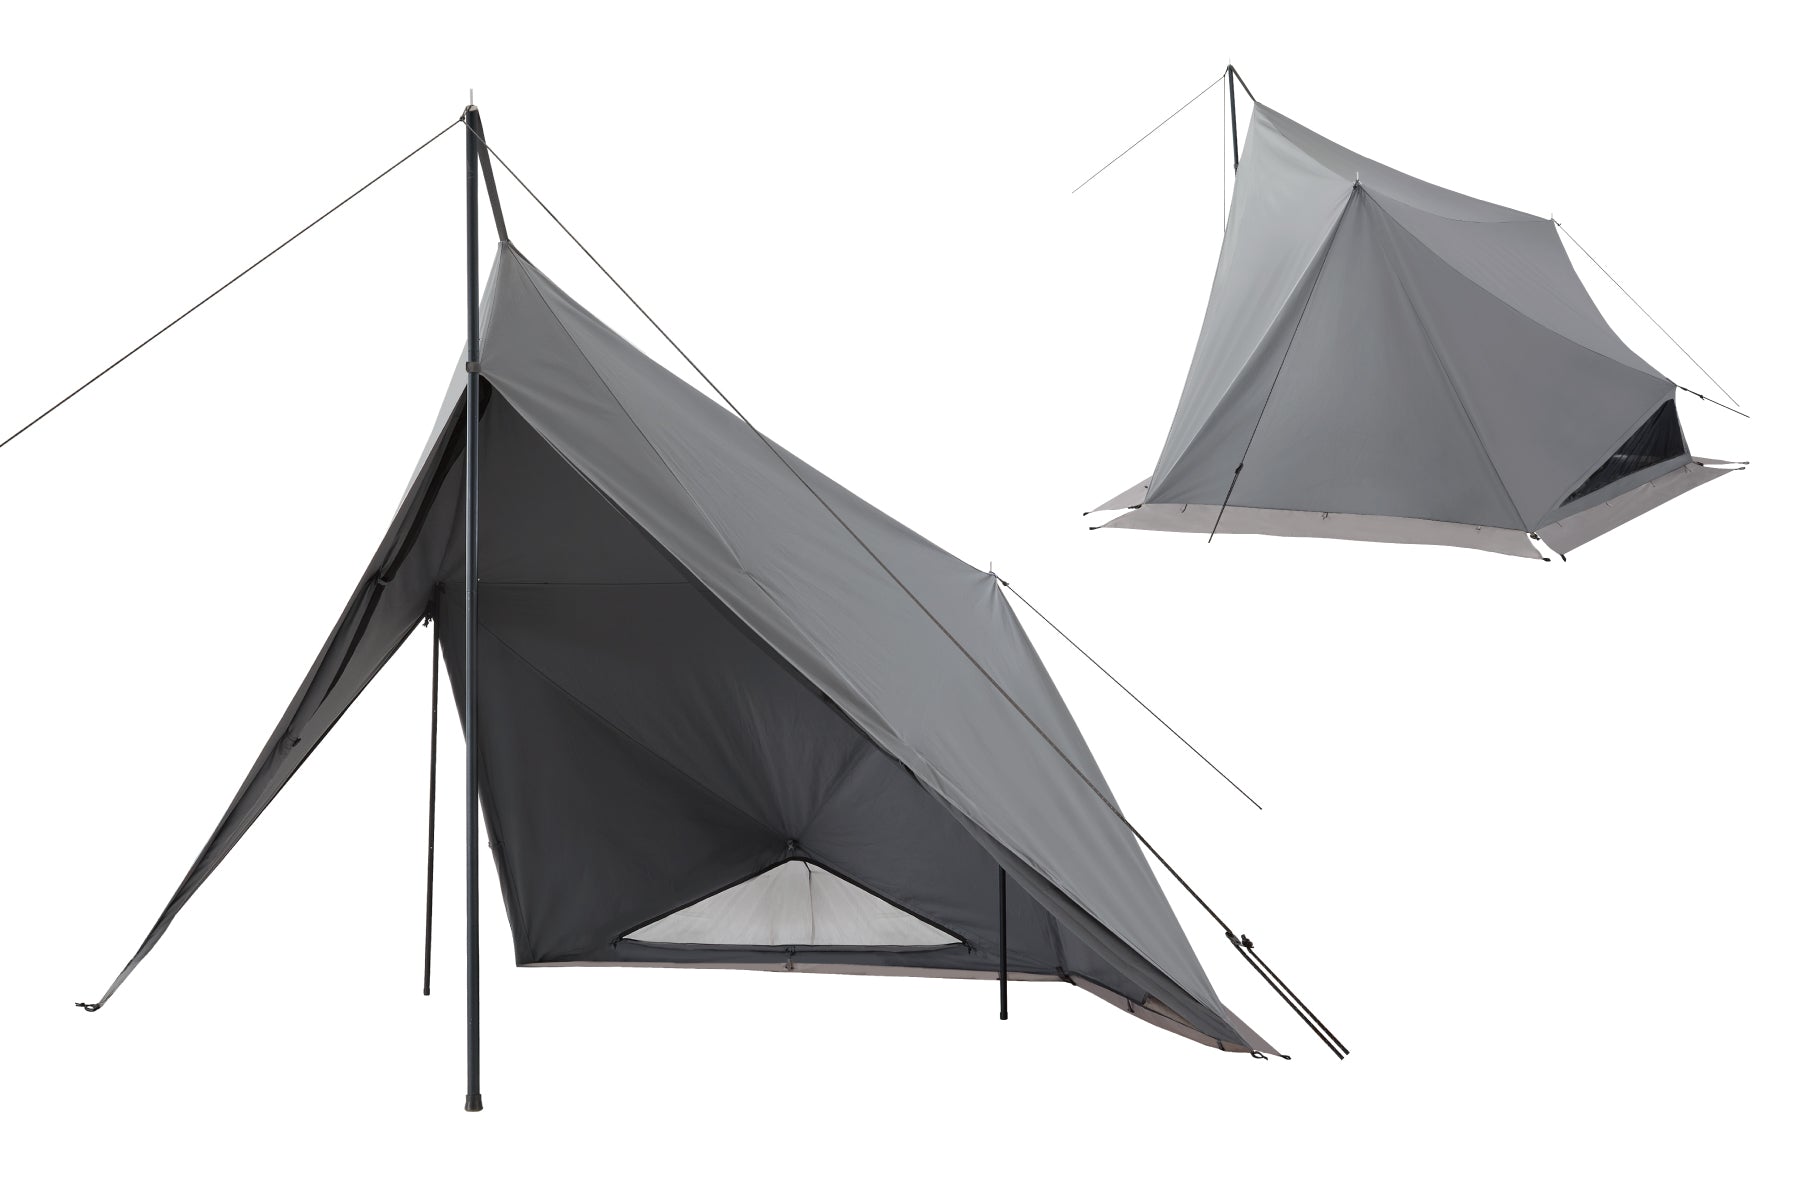
Explore TOKYO CRAFTS' stylish, lightweight, and durable TC material solo tent. Featuring a sleek "diamond pattern" silhouette and a refined grey color, this tent combines practicality with elegance. It optimizes space with a spacious, open living area and an efficient sleeping compartment, offering a minimalist yet comfortable outdoor shelter.

The Most Advanced Solo Tent in Modern Times
Most solo tents tend to have cramped living spaces and low heights, making them feel tight and uncomfortable.
"Make Solo Camping More Comfortable."
This was the starting point for the development of the Diafort.
It offers a sense of openness like a tarp, while maintaining privacy.
A height that allows you to stand comfortably while changing clothes.
A space-efficient, dead-space free interior.
Suitable for all seasons, with simple and quick setup.
Our goal was not just to enlarge the size or add features, but to design a carefully calculated and refined product.
Repeated tests and improvements ensured it includes all essential features, with unnecessary elements removed for a sleek, elegant design.
The result: a unique form and perfected functional beauty.
We proudly claim it as the most evolved solo tent among many on the market.
See the development story
Instagram #tokyocrafts
FEATURES
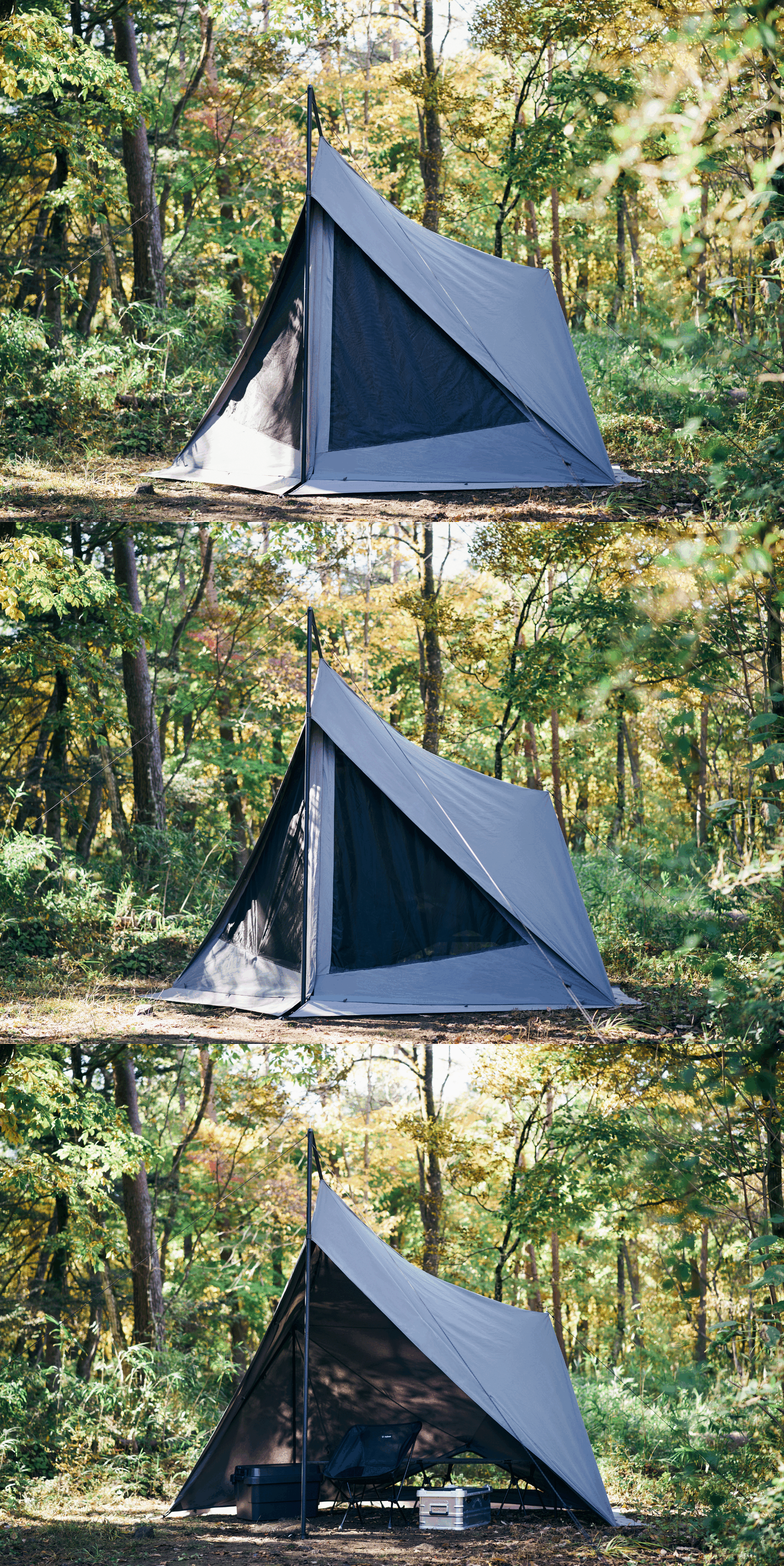


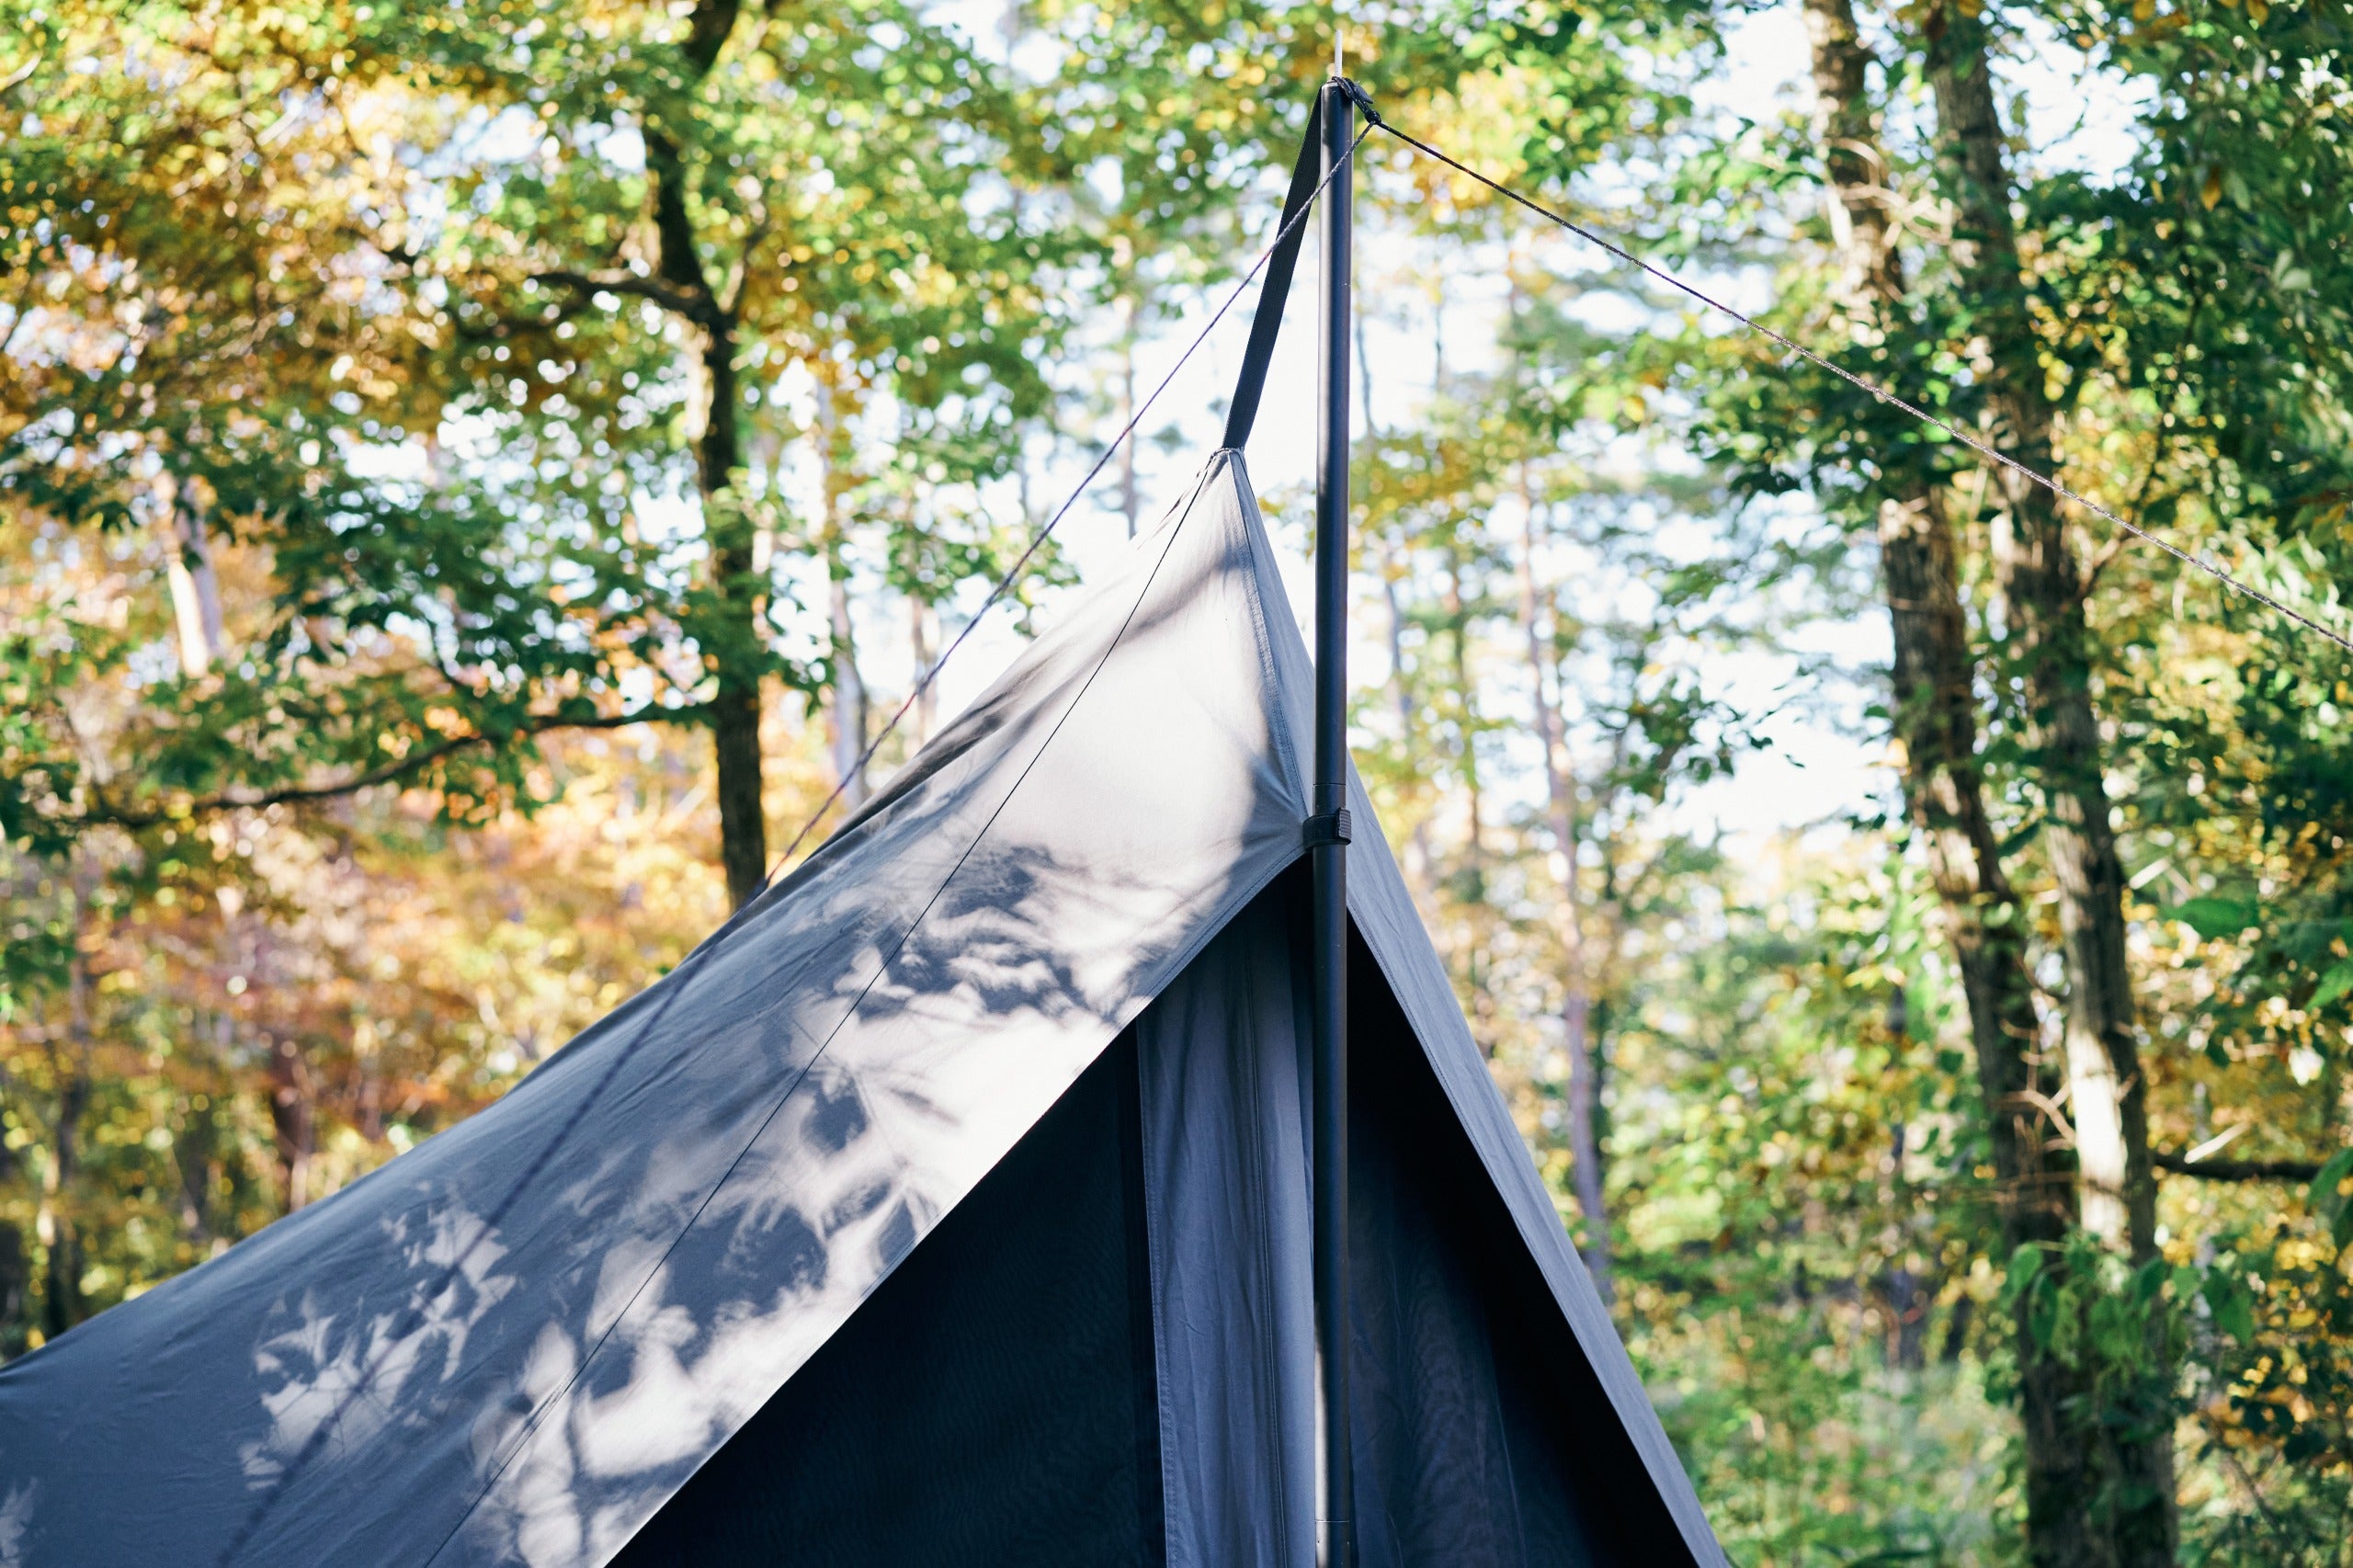


Enjoy your private space with a view — create your own outdoor refuge.
SET UP




REVIEW / Q&A
AIによるダイヤフォートTCのレビュー要約
ダイヤフォート TCは、ワンオペでも15分前後で張れる直感的な設営のしやすさと、立ったまま着替えられる高い天井が大きな魅力です。ソロに「広すぎず狭すぎない」絶妙な室内はローコットやストーブを置いても余裕があり、一年中快適にこもれると高評価。厚手TC生地は濃い影を作りつつ焚き火の火の粉にも強く、四面メッシュとベンチレーションが通気を確保して夏も涼しく冬は暖かい。渋いグレー/カーキと独特のダイヤ型フォルムがサイトで映え、「一軍確定のソロ幕」と絶賛されています。
特徴キーワード
- 簡単設営ワンオペ
- 立てる高天井&快適居住
- TC素材(遮光・難燃)
- 全面メッシュ換気
- 映えるダイヤ形デザイン
SPECS
- Materials
- Tent body: TC (Polyester 65%, Cotton 35%)
Mud skirt: Polyester
Poles: Aluminum
Large pegs: Steel
Small pegs: Aluminum
Case: TC (Polyester 65%, Cotton 35%)
- Dimensions
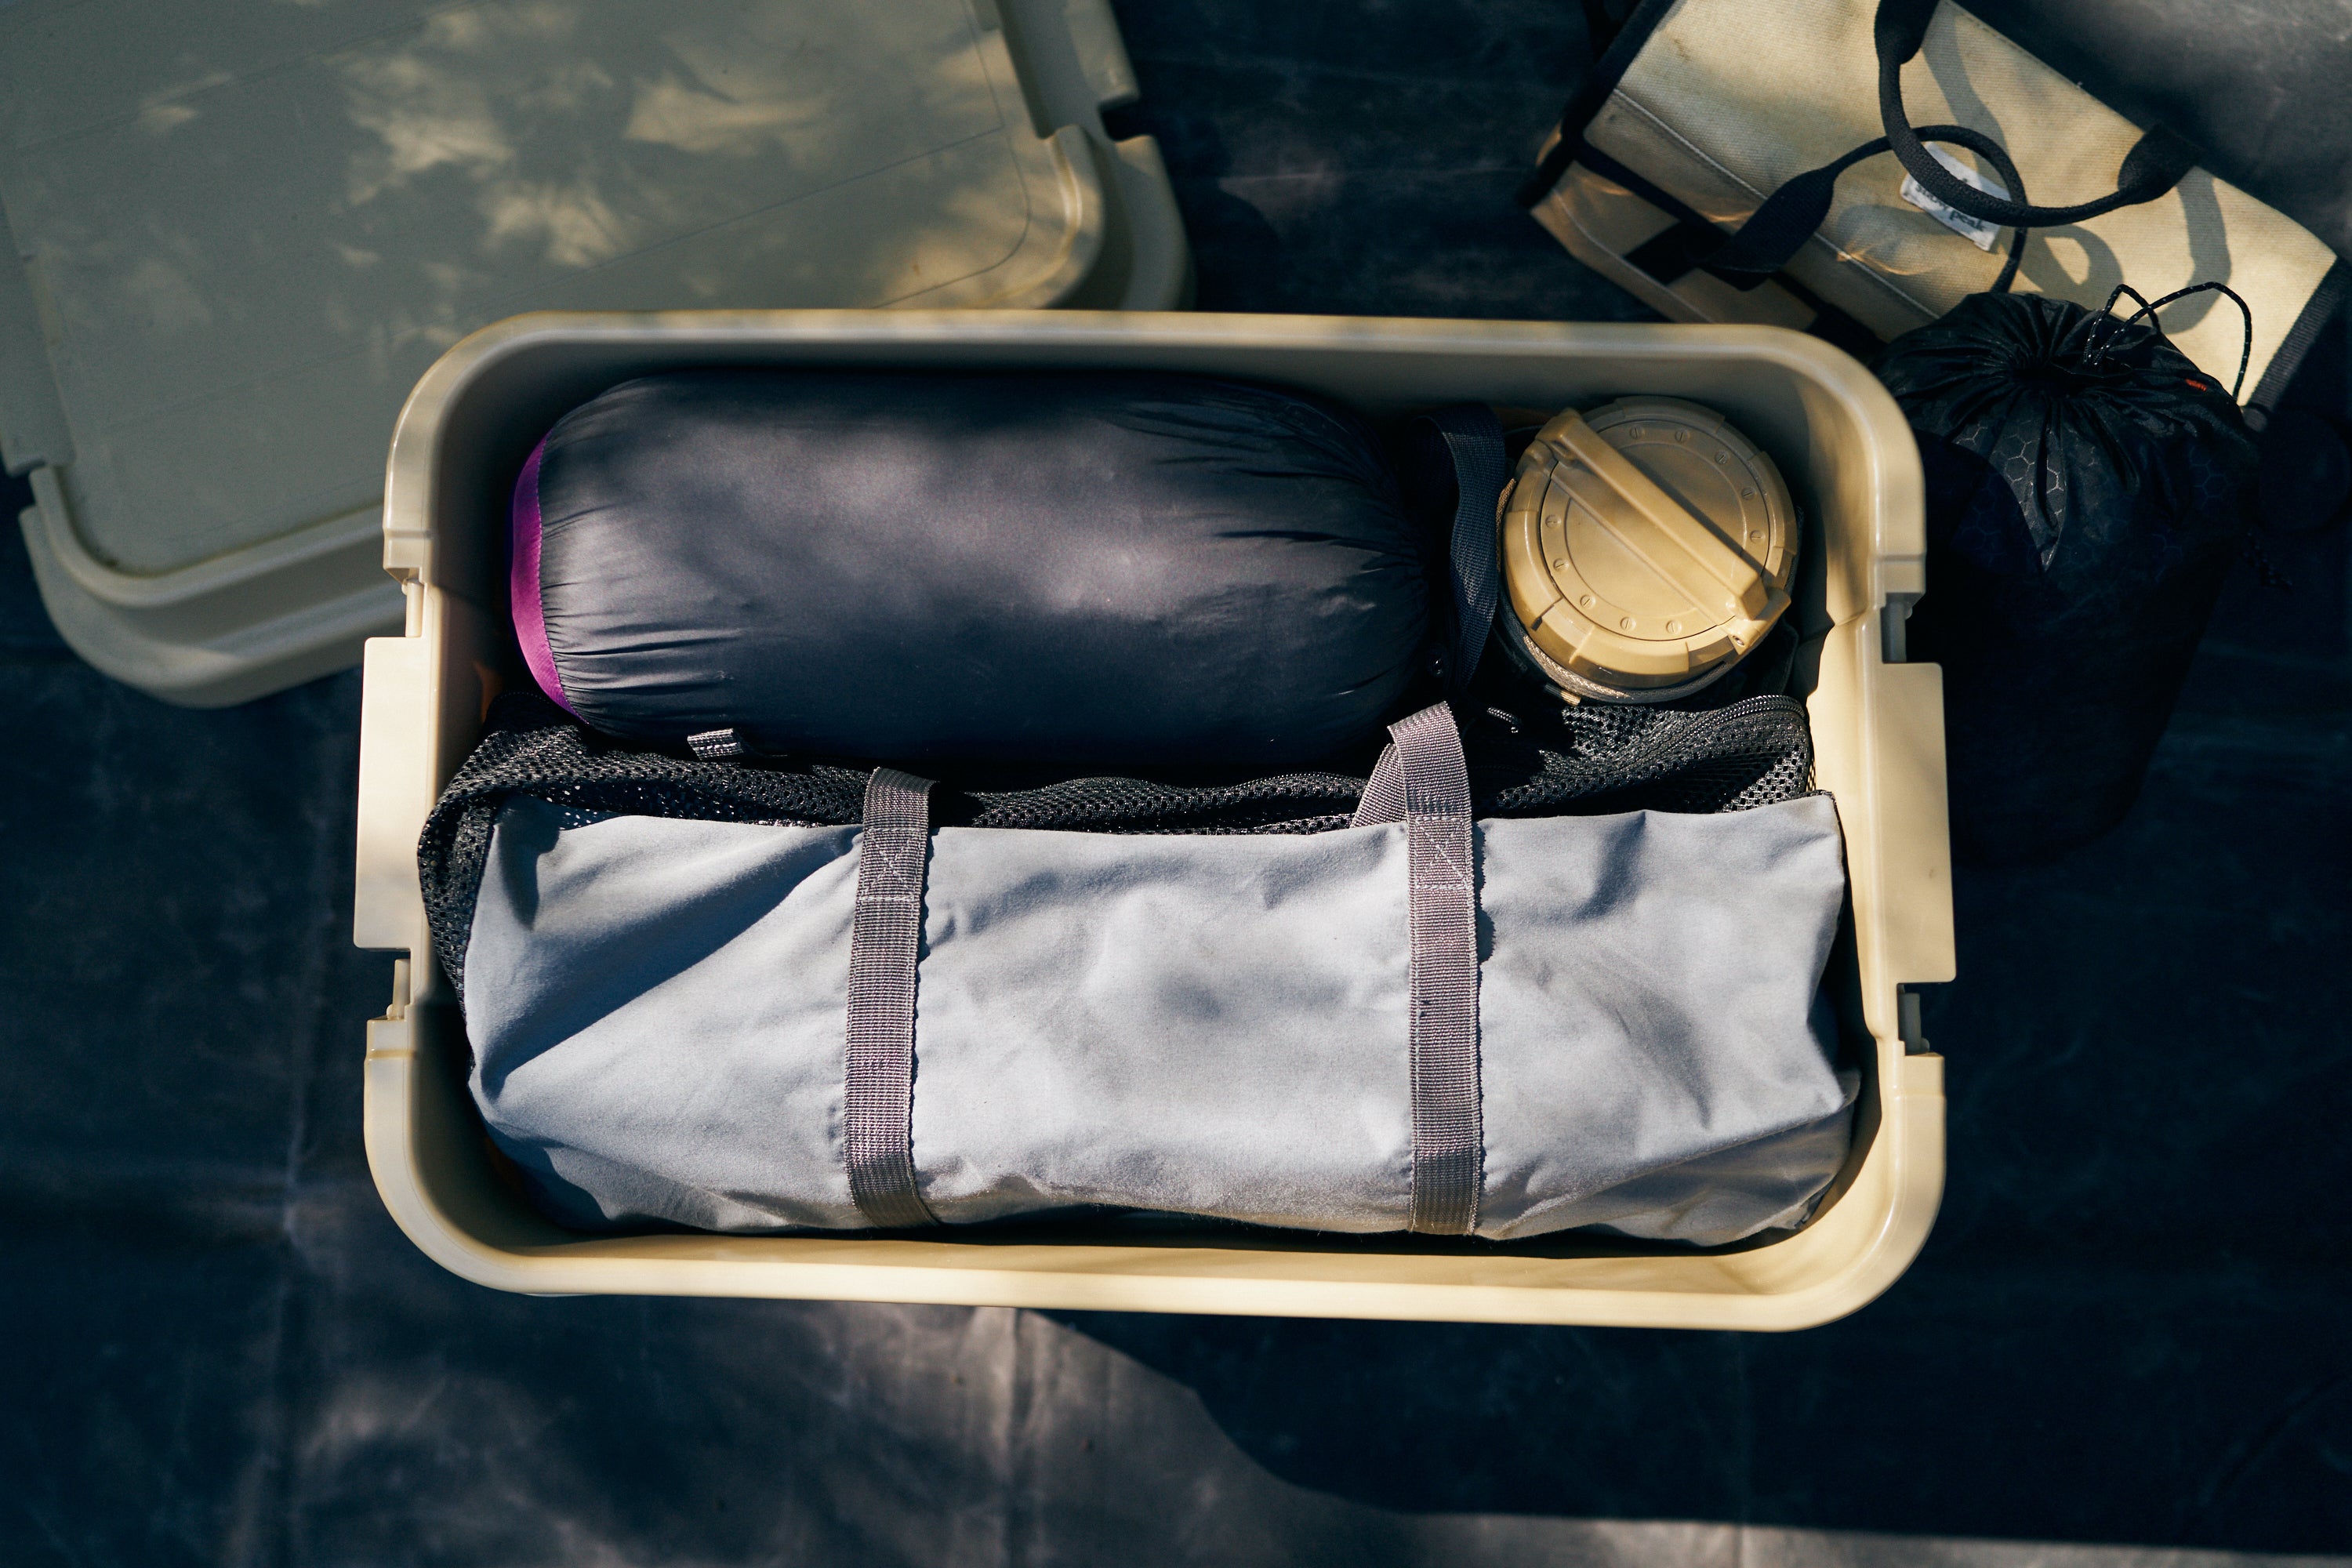
- Storage: 23×23×54cm
Assembly: W330×D275×H215cm (excluding poles and ropes)
- Weight
- Total: approximately 7.5kg /
Tent body: about 4.5kg
- Country of origin
- China
- Items included
- Tent body ×1, main pole ×1 (φ28mm), secondary poles ×2 (φ19mm), carry bag ×1, pole case ×1, peg case ×1, large pegs ×2, small pegs ×10, end caps ×2, adjustable tension ropes ×1, longer ropes ×2, shorter ropes ×1, user manual
- Fabric Details
- This product is made of a cotton-polyester blended fabric (referred to as TC fabric). Due to the nature of TC fabric, some weaving irregularities or minor snags are unavoidable; please understand this as part of its characteristic texture.
As it is a natural feature of TC fabric, there may be slight color variations or weaving inconsistencies, which add to its unique appeal.
Because of its construction, seam taping is not applied, so it is not fully waterproof. Compared to standard polyester fabrics, TC fabric is more difficult to produce with uniform water repellency. As a result, when exposed to rain, some areas may absorb water more than others, causing color differences or visible patches on individual panels. Please be aware of this.
Water-repellent performance will diminish with repeated use. Please follow the instructions when applying commercial water-repellent sprays. Keep in mind that uneven application can lead to water absorption differences.
Since TC fabric is more prone to mold if left wet for an extended period, please be sure to dry it thoroughly before storing. Once mold forms, it is difficult to remove, so proper maintenance is essential. - Additional Precautions
- The logo is attached to one part of the main tent body and one on the carry bag.
Fire safety inside the tent is strictly prohibited. Using open flames in enclosed spaces can cause carbon monoxide poisoning, suffocation, or fires, which can be fatal.
Please avoid using the tent in heavy rain or severe weather conditions such as snow or strong winds.
FAQ
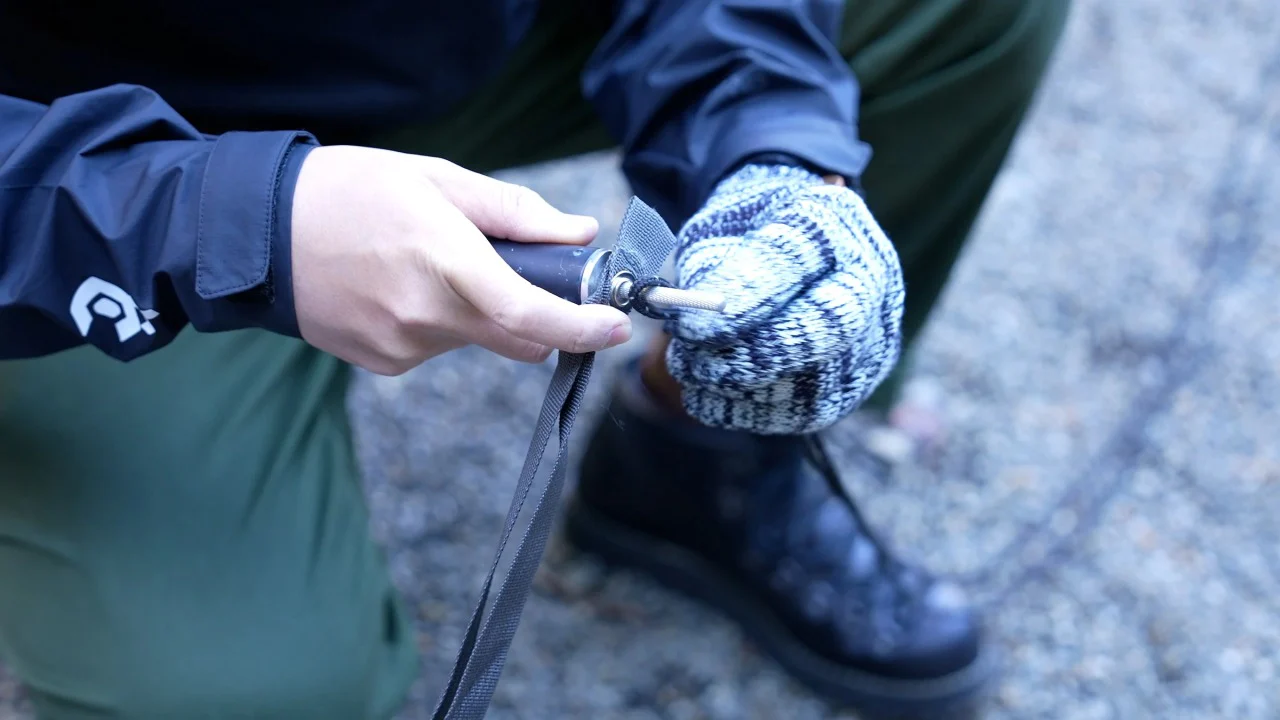
- Want to learn how to set up?
- Please refer to the video: How to assemble the tent
- Can it be used by two people?
- Typically, it is designed for solo camping. While you can place two standard-sized cots side by side, it is primarily intended for single users.
- Can I use it with the TC ONE TARP?
- No, connection is not recommended. Although structurally possible, connecting two units may cause injury or damage.
- Is it suitable for all seasons?
-
Yes. Made of TC fabric (Polyester 65%, Cotton 35%), it provides excellent breathability and light-blocking. In winter, fully close the tent with the skirt for warmth; in summer, open the mesh for airflow.
We also offer a dedicated inner tent. See the Diafort TC Inner Tent
- What is the size when ropes are tensioned?
- It varies depending on how it is set up, but roughly about 5m wide by 6m deep.
- Can I hang a lantern inside?
- Yes. There are loops on the main pole (1 loop) and secondary poles (2 loops) for hanging lanterns.
- Can I shorten the poles?
- No. Shortening the poles is not recommended due to safety reasons. Please use the tent as instructed in the manual.
- When the skirt lifts after setup, what should I do?
-
Possible causes include:
1. The peg positions on both sides of the tent are too wide apart.
2. The angle of the main pole is not vertical.
Please refer to the tips on page 5 of the user manual.
Additionally, double wrapping the rubber parts when pegging down helps prevent the skirt from lifting.


